Welded Jackshaft Support and Blending Tail Section

(42 days until the 2012 WHPSC)

Welded the jackshaft support to the subframe today.

Remember the cassette guts?

Cassette guts installed on subframe

... and a cassette

The subframe with the jackshaft installed

Closeup of the fork

Closer closeup of the crown end of the fork

... and the dropout end

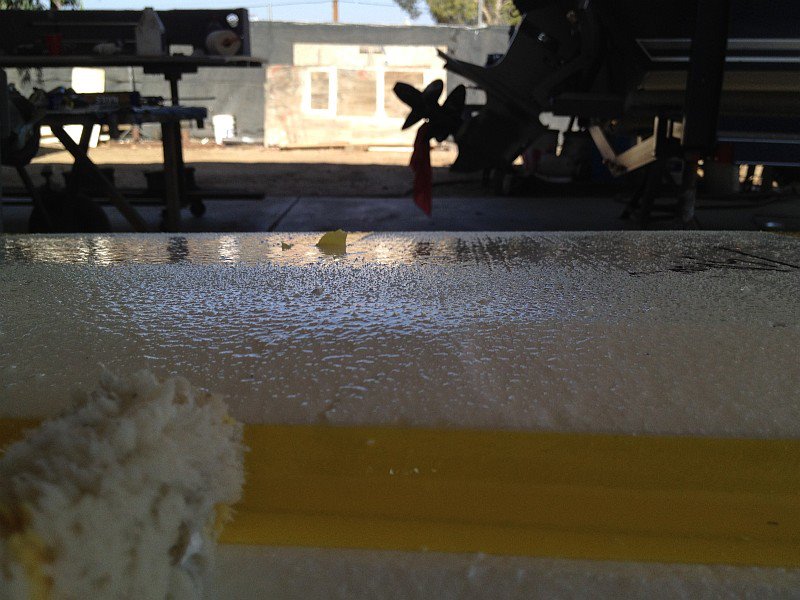
Meanwhile, we need to blend the tail of the body a little more gradually. We used leftover, high-density polyurethane foam from Dad's Red Bull rock crawler project.

First we used Gorilla Glue. Later, epoxy. Then polyester resin. Here we're using... good ol' hot glue and drywall screws

First side done

Another shot of first side

Both sides complete (again, Annie is unimpressed)

Bring on the fiberglass!

(43 days until the 2012 WHPSC)

Deburred the recess in the subframe for the jackshaft support.

Another fit check...

Getting ready to apply fiberglass with polyester resin. Crossing our fingers that the thin protective veneer consisting of twin coats of epoxy has sealed the polystyrene foam - otherwise, the whole thing will melt!

One side down, one to go

Foam is holding up - time to glass the other side

Whew! The resin cured without melting the foam. Now that the foam is encapsulated, we don't have to worry about it melting

Now to get a little sunlight to accelerate the cure

Continuing around...

... and around

Head-on shot

Dad with the 8-inch gear drive, knocking down any whiskers of fiberglass

Snowing again in Perris, California in the middle of summer

Buzzing the nose

Yes, it makes you itch!

Freshly buzzed

Back out in the sun so my dad can snap a few pictures with his camera

From the front

Rhinoplasty and the Jackshaft Support

(44 days until the 2012 WHPSC)

The nose tapered a little too quickly, so a little "augmentation" was necessary using leftover foam from Dad's Red Bull rock crawler project

All the foam strips in place

Half a roll of masking tape to reinforce everything

... and the other side

Augmentation complete

Side shot

To make it easier to see where the second coat of epoxy was applied, we mixed in copper pigment.

Applying pigmented epoxy

As dad said, looks like it hit a cow at 70 MPH

Annie is unimpressed

CAD?!! We don't need no stinkin' CAD!!!

More boring

Checking the fit of the jackshaft support

Sub-Frame and Epoxy Veneer

(45 days until the 2012 WHPS)

SWEET! Pat brought the head tube reamer/facer

Head tube after reaming/facing

Here's the left side of the subframe with the fork and wheel installed

... and the right side

Closeup showing the fork

Pat holding the wheel up against the body - starting to see it?

Dad starting to mop epoxy resin

Pat bringing dad another batch of resin

This is the thin veneer of epoxy that will protect the polystyrene foam from the polyester resin when fiberglass gets applied

2012-07-27 09 epoxy resin veneer on body tooling.jpg